BACK TO INDEX 22"
TULIP
PREVIOUS PAGE
NEXT PAGE
7. DAY
After we put out the orange Blossoms, our daughter (8 years old) said: I´d like the lamp
WITH MORE color. So we decided, to create a small area with some red Blossoms.
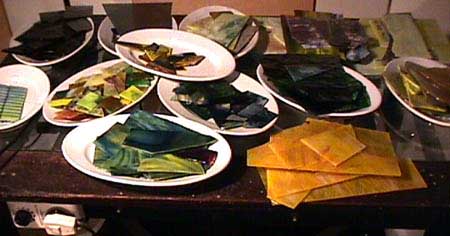
I checked all of the glass what was left from our cutting the blossoms,
but there was nothing what I could
use.
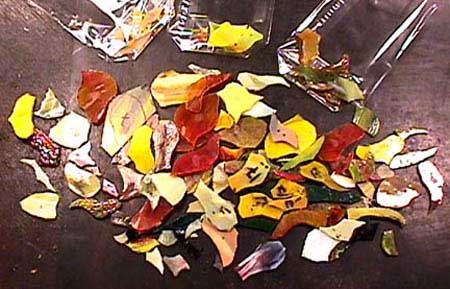
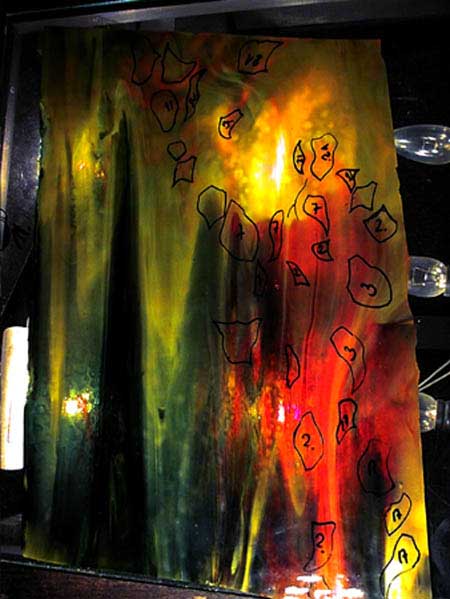
.....drawing one more time to get a "red
Area" in the Tulip for Louisa.
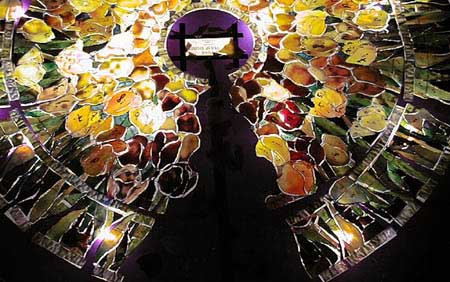
60 minutes later, there were some new, red blossoms in that lamp
and we could start foiling.
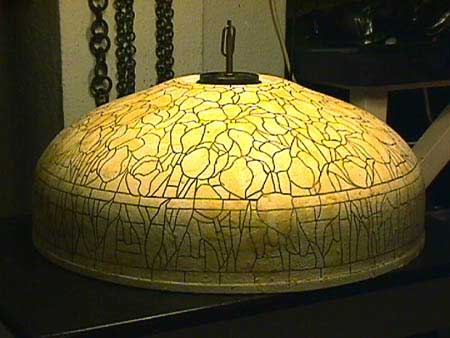
When preparing the mold 14 days ago, I
drilled a small whole
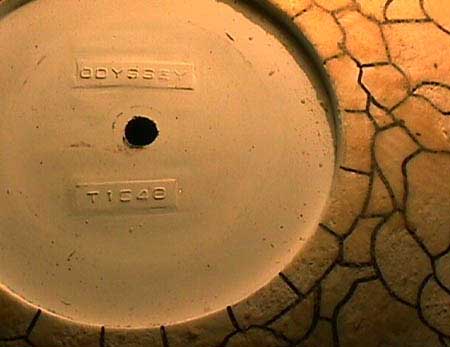
in the center of the "Ring area"
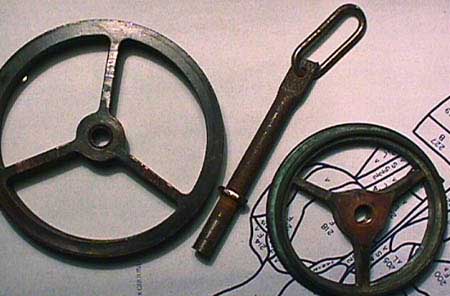
here I mounted the GSE Sprecial Axle with chain link
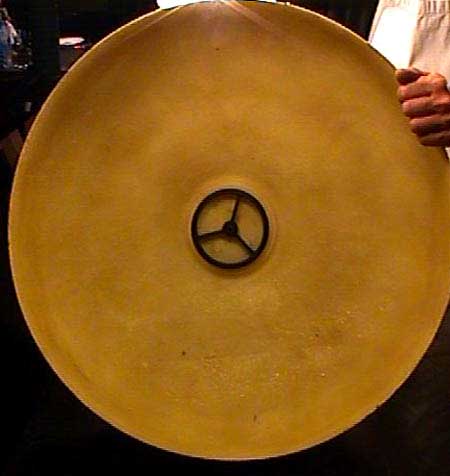
That enables easy handling of the mold,
even when it becomes more heavy later.
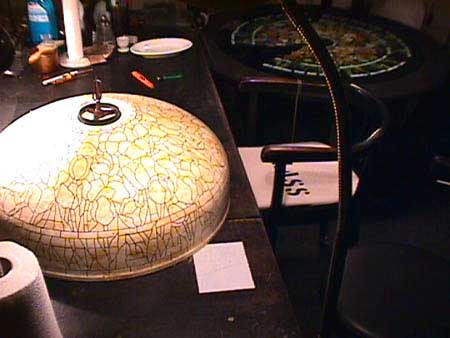
The "organisation" of foiling in our Studio. Gudrun´s foiling place is on the chair with GLASS printed on it,
my place is at her left hand side, to press on the foil and place the pieces on the mold in their right position.
Front: there is no sheet of paper under the mold. There is a whole in the table covered with a white glass.
Under this glass is a bulb. I use this small light table for cutting glasses, when their surfaceses apear in black.
See 2. DAY "sometimes are glasses black on their surfaces....."
This pictures I made over the light of
that small table, switching on and off.
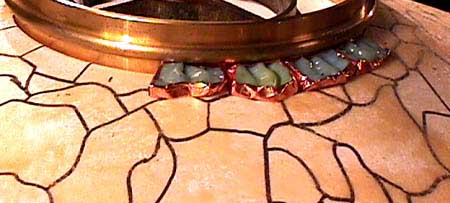
the first 4 pieces,
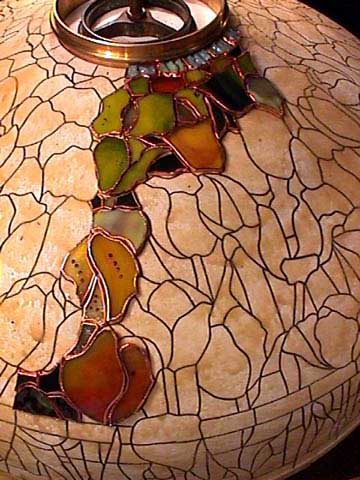
There is
space enough between the pieces, we didn´t have to grozzle one piece
til now.
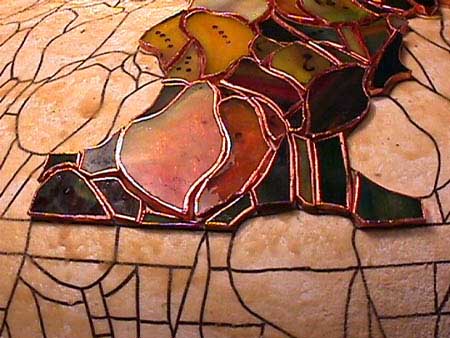
The foiling of piece number 60 step by
step. PLEASE SEE DETAILS
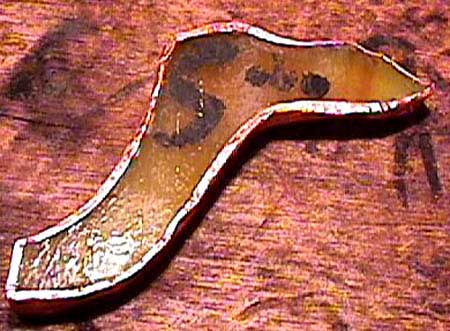
You remember that shape? This is what it looks like from the top,
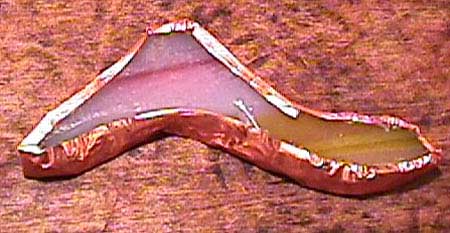
from underneath (it´s still not grinded).
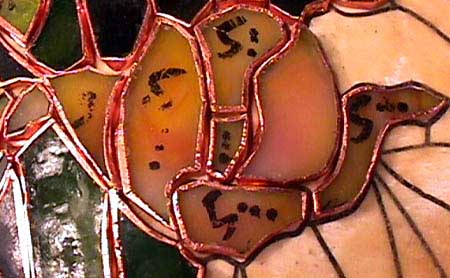
Here it is placed in his right position. Right positioning often reduces cutting "mistakes" to "0".
This would be impossible without wax on
the mold.
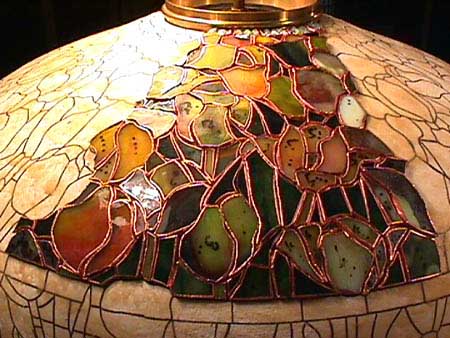
The mold Wednesday at the end of 7. day