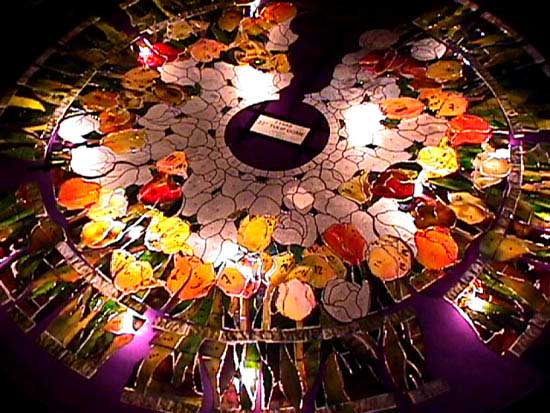
BACK
TO INDEX 22" TULIP
PREVIOUS PAGE
NEXT PAGE
5. DAY
To get orientation of which glass pice is background and which is flower and which is steem and so on..
we had colored the pattern
(paper) before starting our project two weeks ago.
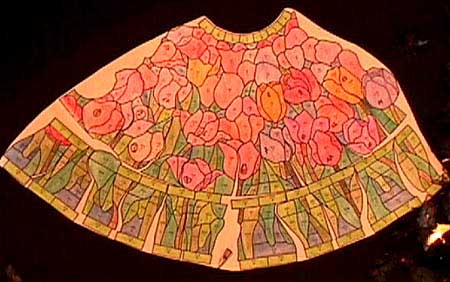
Here is a picture of how
we numbered all the flowers with more than 1 glass piece
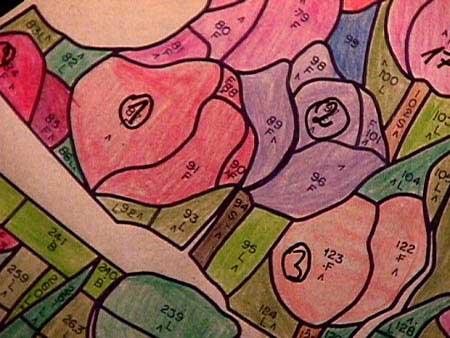
Here is how we organized the 6 flower cutting jobs.
Here is the first job with 3 X 3 flowers which I have numbered #1, #2, and #3 . (see above)
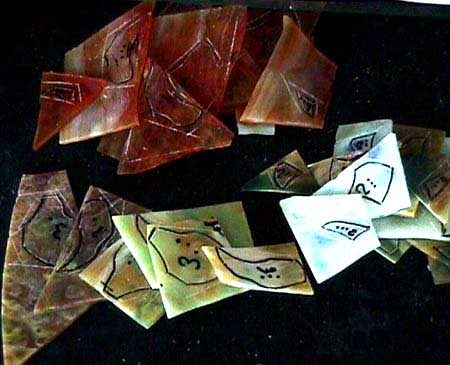
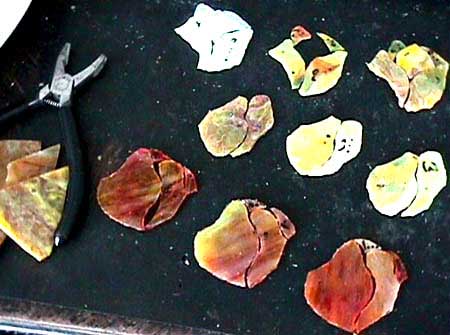
The separated pieces are taken from the plate, cutted and sorted.
Each of the 3 flowers has to be cut 3 times (1 time for every repeat of the pattern)
The 9 flowers are signed:
1 . 1 .. 1 ... 2 . 2 .. 2 ...
3 . 3 .. 3 ...
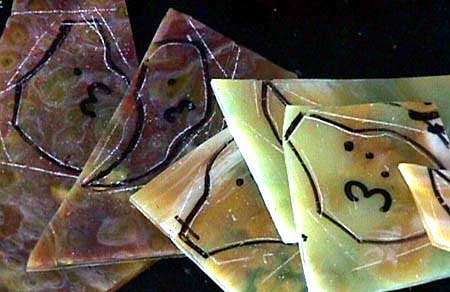
..a detail, to show the way
we cut.
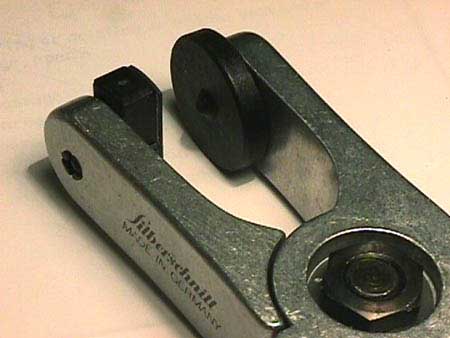
the Silberschnitt running
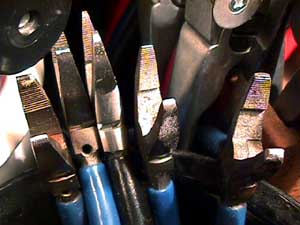
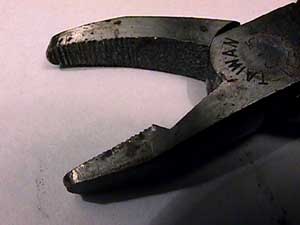
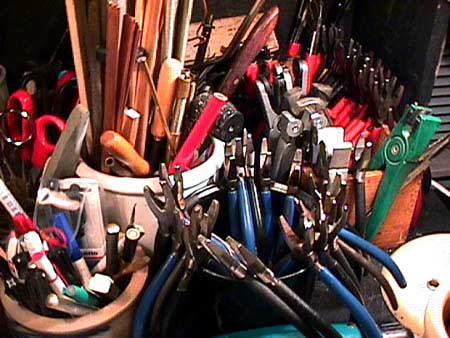
pliers I use for separating glasspiece from glasspiece
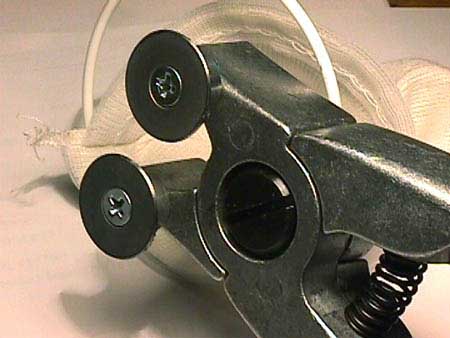
The Silberschnitt ZAG ZAG pliers I use it to cut off the larger trash around the glass pieces,
